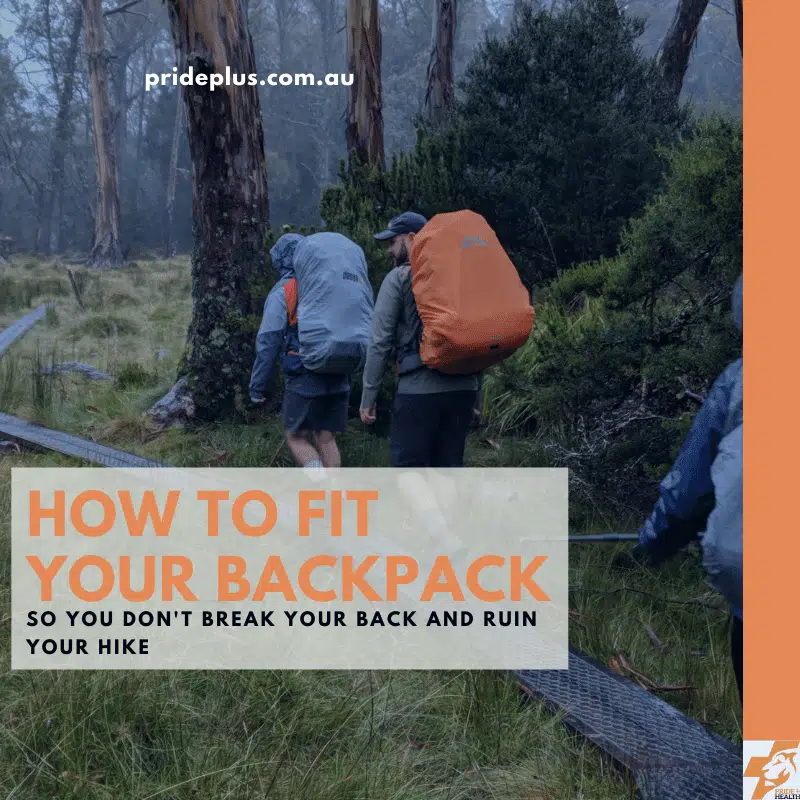
Fellow hikers, here’s how you fit your backpack and choose the right one for you. There’s nothing worse than being in too much pain to enjoy your trek. Get your backpack right and you’re halfway to having a wonderful experience.
If you love to hike, explore the great outdoors and get in touch with nature, then you’ve probably tried plenty of different backpacks. Daypacks, camelbacks, big multi-day packs. Most of us have a few. Most of us have our favorites too.
For some of us we found our comfortable backpacks purely by accident. We got lucky with our online purchases. Or, maybe we’re in the centre of the bell curve for normal shaped backs. Not too tall, too short, and with a healthy curved spine.
But as a physiotherapist I’ve seen plenty of people with different shaped backs. Highly curved backs, twisty or swayed backs. All sorts of wonderful healthy and active backs who don’t quite feel comfortable when first trying on their hiking backpacks.
So to help you enjoy your hike here’s how you choose and fit your backpack. This advice isn’t just what feels right, it’s backed by plenty of research too.
Happy hiking!
How to fit your backpack
Here’s 7 rules to follow to fit your backpack so you can enjoy the great outdoors.
Two straps are better than one
Off the shoulder bags, also known as messenger bags result in poor posture. You lean more to one side to carry your load.
This causes your back muscles to work harder to maintain your centre of gravity. You’ll be more likely to waddle side to side rather than walk powerfully straight ahead.
Your increased muscle activity causes fatigue and pain, especially if you have a history of back pain.
How not to wear your backpack
The 10% rule
Research shows that when you carry less than 10% of your body weight for 30 minutes, there is no significant increase in metabolic cost of or hip forces. This means that you’re not working harder.
The 10% rule is handy to remember for day trippers where taking < 10% of your body weight is practical. Your need for a perfectly fitted pack isn’t as important (unless you have a history of back pain) on short hikes.
For those who multi-day hike you’ll be breaking the 10% rule just carrying a days supply of food (if you get hungry like me!). This rule is then made to be broken as long as you follow the rest of the rules.
Use your hip belt
Static strap force is the most important predictor of discomfort in backpack users. This means it’s where the straps hold onto you that equals comfort, or an awful experience. The pressure distribution under the shoulder strap and the hip belt account for >85% of the discomfort experienced among backpack users.
Your hip region is way more tolerant to load and surface pressure than the shoulder region.
Therefore, shift the load from the shoulders to the hips where possible using the hip strap.
Hip belt, check. Wide and padded straps, check.
Wider straps are best
Think about when you carry all those heavy shopping bags in from the car. The thin plastic straps cut into your fingers and hurt. If you have wider reusable bags that spread the load over your fingers it doesn’t hurt..
Your shoulder (and hip) straps are the same. Wider straps spread the load more evenly and don’t cut into your skin.
Studies have found that the least amount of strap pressure is observed with the wider straps, ideally 8cm wide. Even better when they are padded!
Pack it right
Position the heaviest items as close as possible to your back. Ensure that the contents are evenly distributed on both sides and do not move around. While water bottles are tempting to have up top of your pack for easy reach, or hanging from the sides they can greatly increase your workload.
Pack your heavy main water supply deep in the pack and close to your back.
The right size
This one goes without saying but while most hikers know their shoe size, not as many know their backpack size. The backpack companies use ‘torso length’ to size and fit a backpack. Here’s how you measure your torso length.
- Landmark 1: When standing slide your hands down to the top of your hip bones. This is your iliac crest. The spot midway between these bones in the lower back is the bottom of the torso measurement.
- Landmark 2: The bony bump where the neck meets the slope of your shoulders is the C7 vertebra, the top of the torso measurement.
Measure the length between these 2 landmarks to find the right size of your backpack. It’s best to get someone else to do this!
The right fit
Once you have the right size, put your backpack on. Load it up with some weight.
The aim of fitting is to adjust the different straps. Hip, shoulders and chest so that most of the weight rests on the hips.
Start with your hip belt. It should hug the top of your hip bones snugly.
The shoulder strap attachment points on the backpack should sit at the top of your shoulder blades. They should wrap around your torso closely, but not carry much weight.
Allow for a reasonable amount of looseness in the straps to reduce surface pressure, whilst snug enough to prevent the backpack from moving around when walking.
Your chest strap should sit under the collarbones.
Aim for comfortable fit ensuring you can take deep breaths without any restriction.
And that’s how to fit your backpack
Now you know how to fit your backpack and so you can enjoy your hike without pain and strain. Be prepared, train yourself and have the right gear for you body. You’ll love the wonderful hikes around this beautiful country of ours. Now, you just have to watch out for snakes.
About the Author

When physiotherapist Naveena Seethapathy isn’t helping people overcome back pain and other injuries in our Pascoe Vale physiotherapy clinic she can be found hiking up and down hills around Melbourne.


